Send Customer Email Link to Invitation Wizard
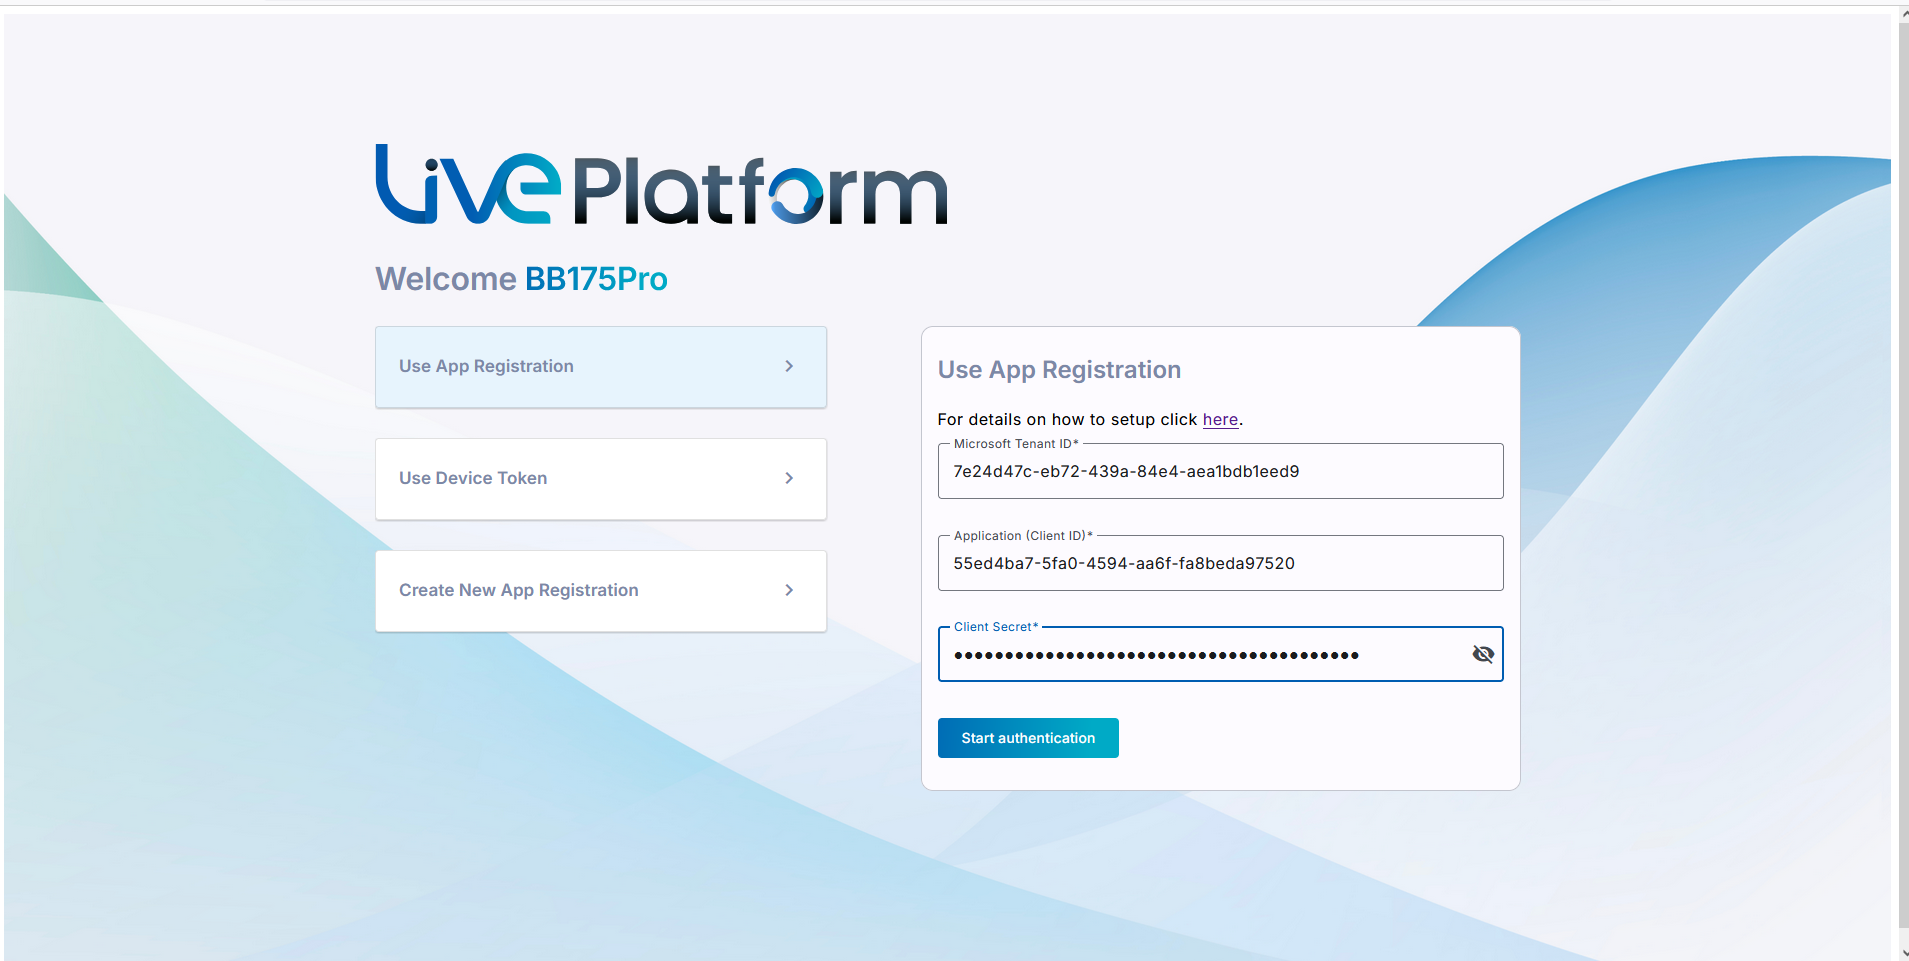
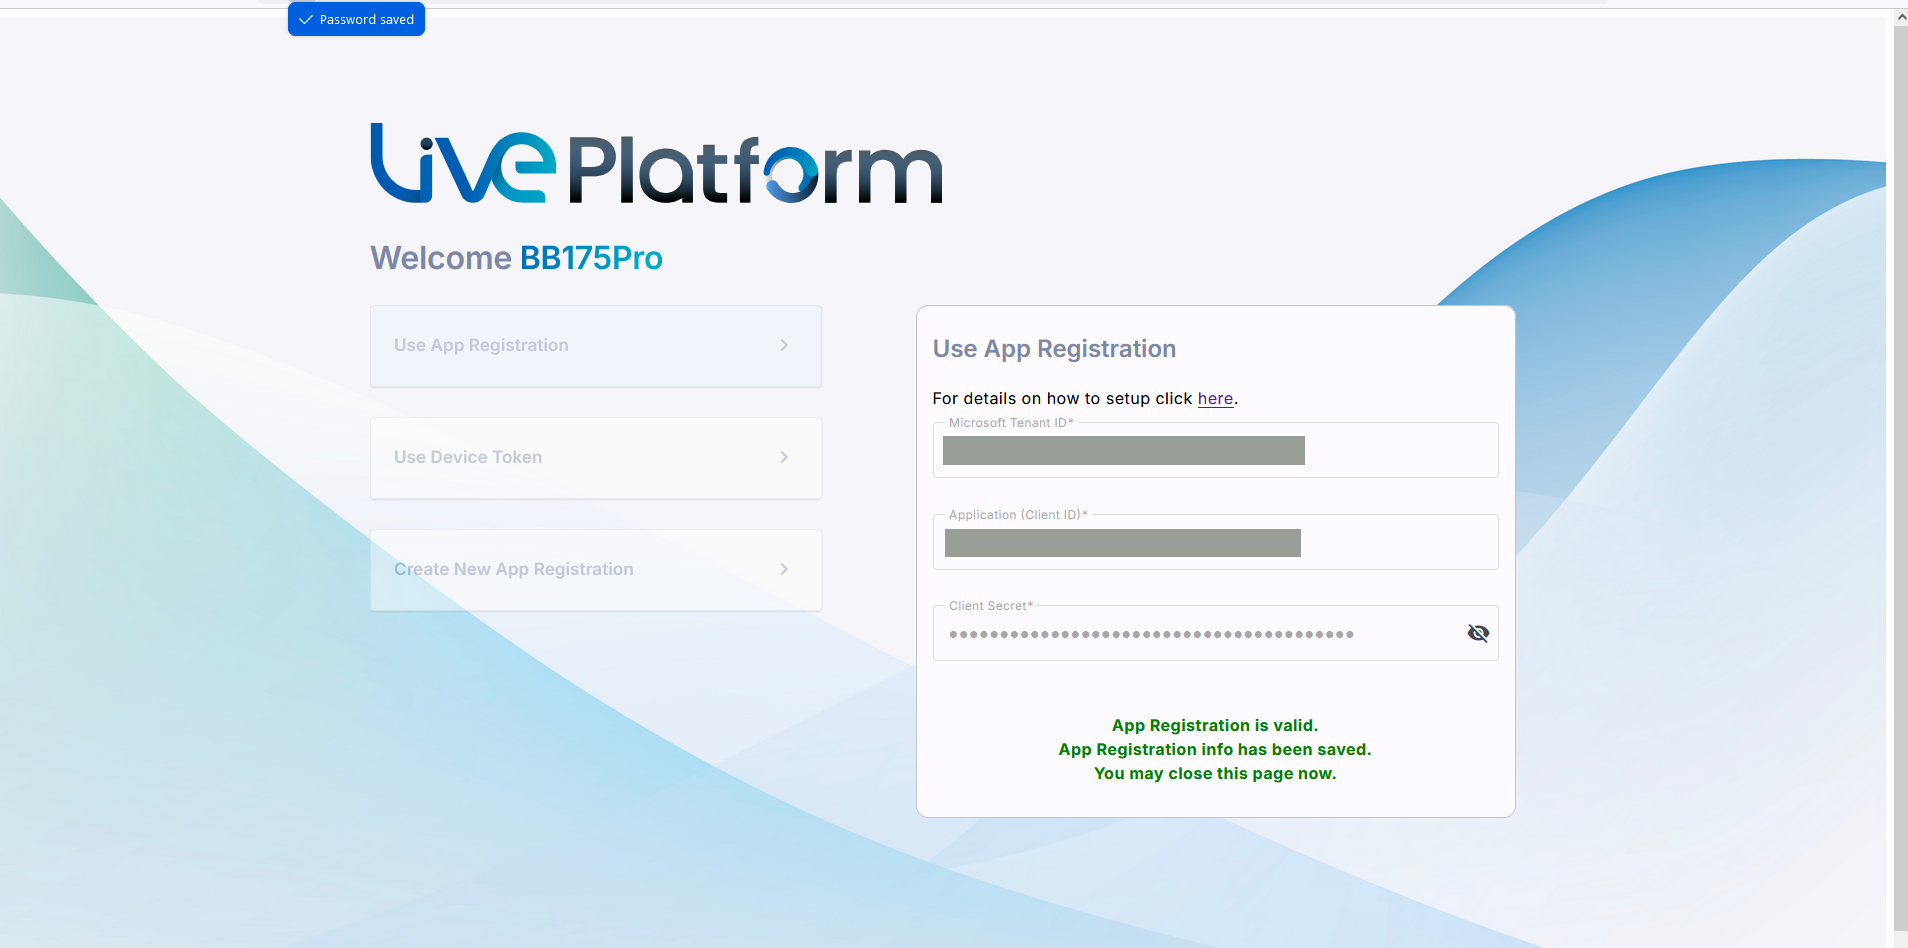
You can establish connection between Live Platform and the customer M365 tenant platform through an existing Application registration that was created manually by the customer (see Create Application Registration Manually (Optional)). You send an email to the customer tenant M365 admin user including an Authentication URL link to the Invitation wizard. In the wizard, the customer must then select the option Use App Registration and enter the credentials of this registration (Tenant ID, Application Client ID and Client secret).
|
1.
|
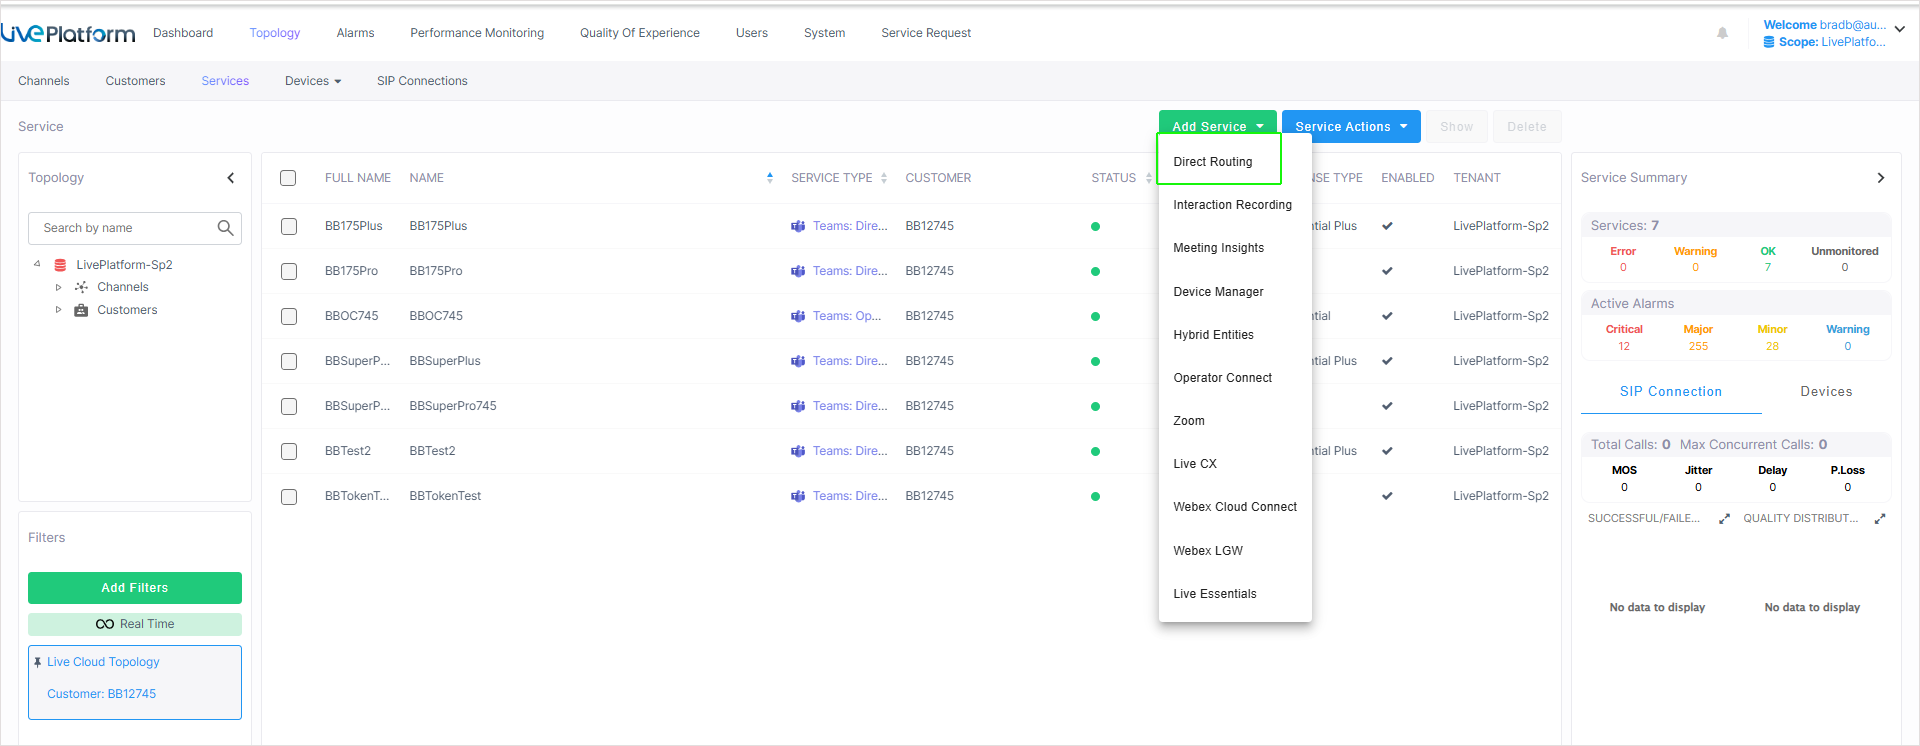
In the Services page from the Add Service drop-down, select Direct Routing. |
|
2.
|
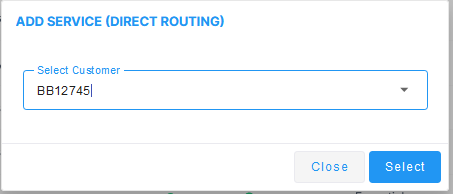
Choose the relevant customer. |
|
4.
|
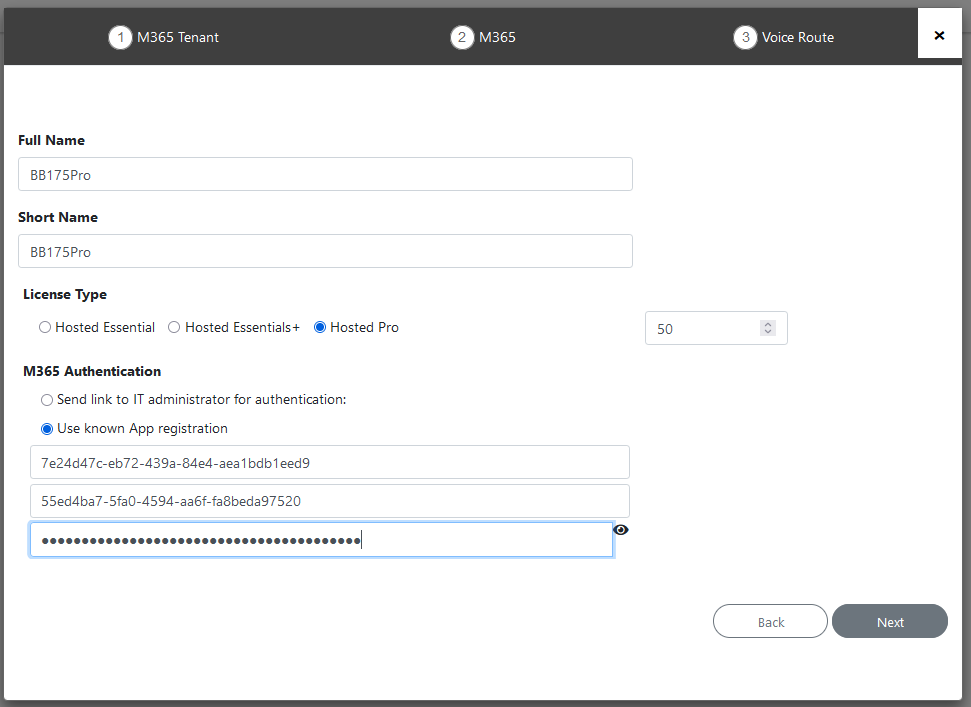
Enter Unique Short Name of Service - Define a unique name for the new service. |
The name should comply with the following rules:
|
●
|
The string should be 3-15 characters long |
|
●
|
The following characters cannot be used: \ / : * ? " < > |audit |
|
●
|
Can contain letters (lower/UPPER case), Numbers and special characters are allowed, however cannot contain the dot (.) or blank spaces. |
|
●
|
Unique name per Service |
|
5.
|
Select the relevant license type Hosted Essentials+ or Hosted Pro license Type. |
|
6.
|
Select the number of licensed users. A maximum of 500 users can be configured per service. |
|
7.
|
Select the check box Send link to IT administrator for authentication, enter the email address of the customer tenant M365 admin user, and the click Next. |
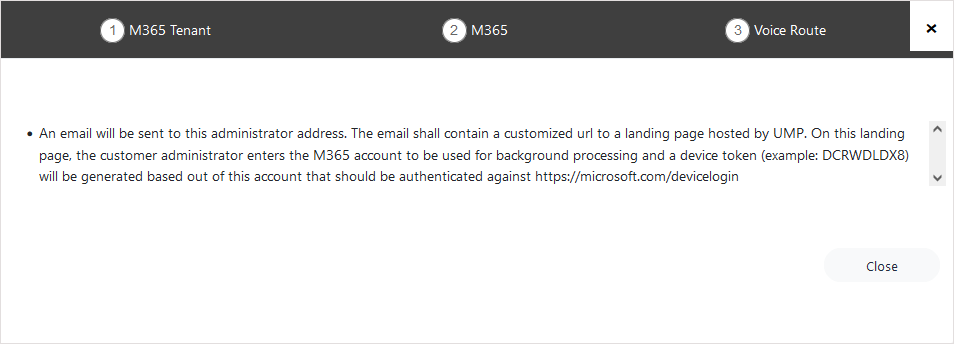
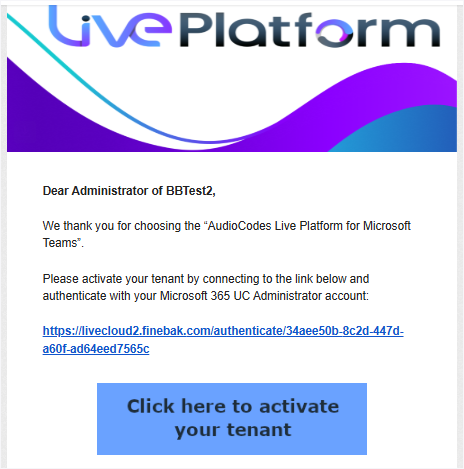
An email similar to the following is sent to the customer tenant admin.
|
8.
|
Click Click here to activate your tenant.The Invitation wizard is displayed. |
|
9.
|
Enter the following details of the Application Registration that you received from the customer tenant M365 admin user, and then click Start authentication: |
|
●
|
Customer Microsoft Tenant ID |
|
●
|
Application (Client) ID |
|
10.
|
A confirmation message is displayed that the Application Registration is valid. Close the window. |
|
11.
|
Open the Pending Invitations page, notice that the Device Authenticated value is true. |


|
12.
|
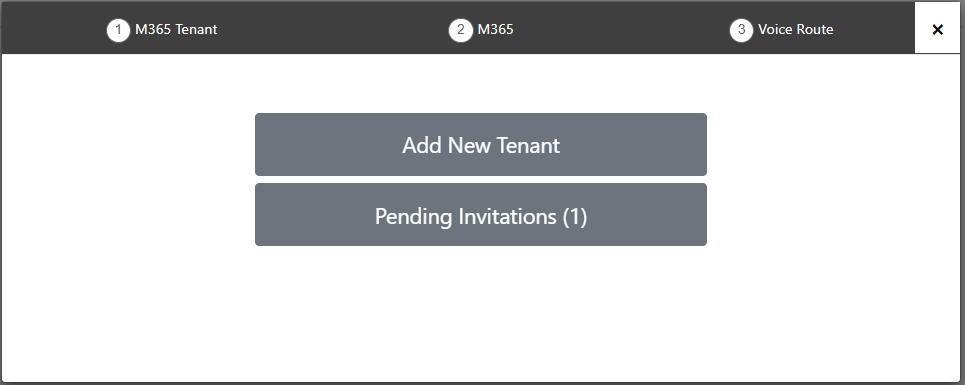
Open the Onboarding wizard again (Services page, Add Service > Direct Routing). |
|
13.
|
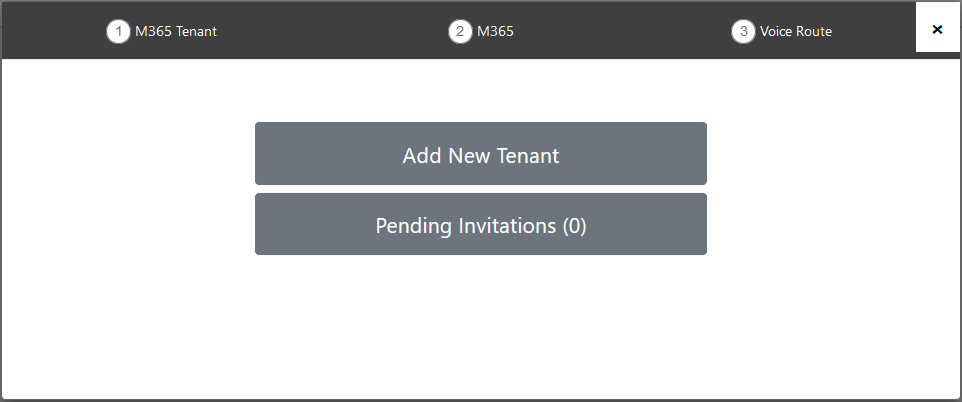
Click Pending Invitations. |

|
14.
|
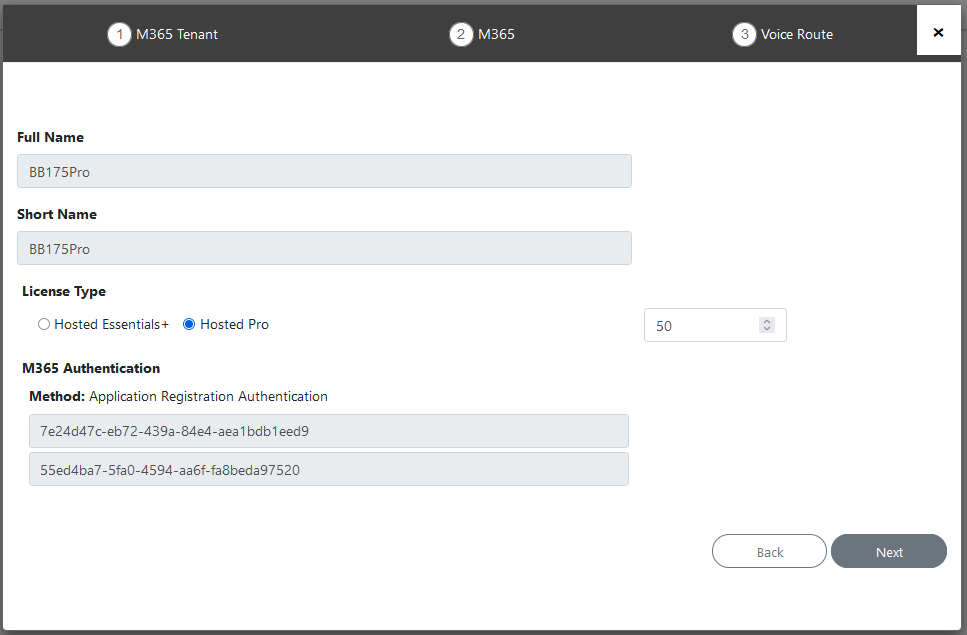
Click Add. The details of the new Application Registration are displayed. |
|
15.
|
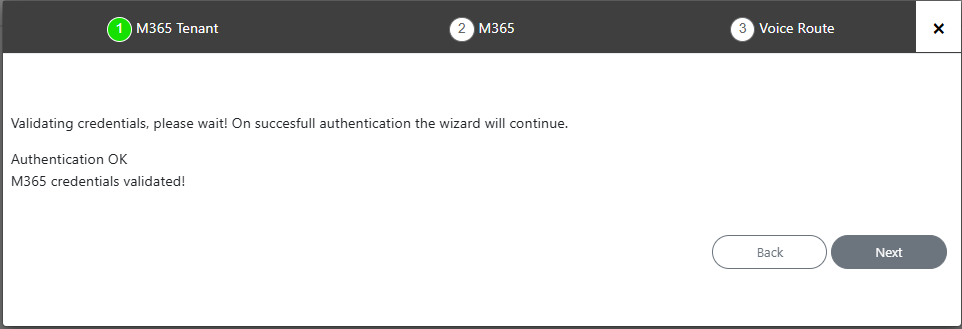
Click Next. The tenant credentials are validated. |

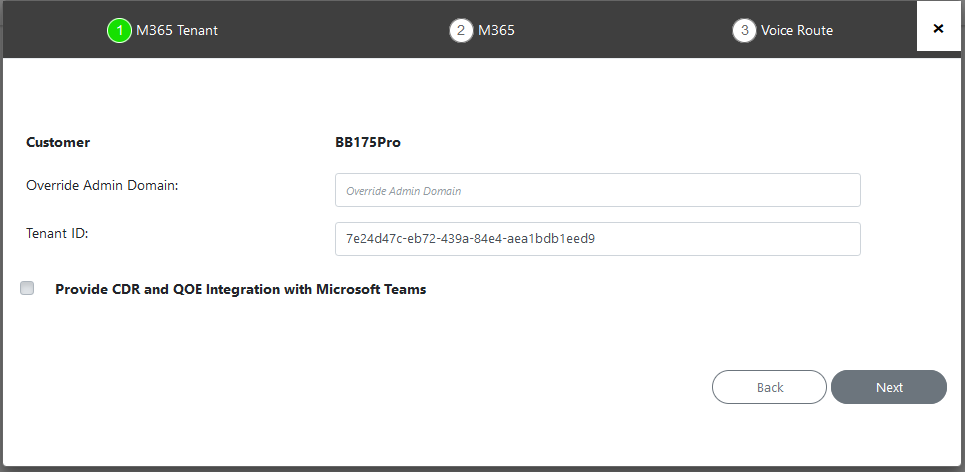
|
18.
|
Open the Service portal for the new service (Direct Routing > Edit Service). |

|
19.
|
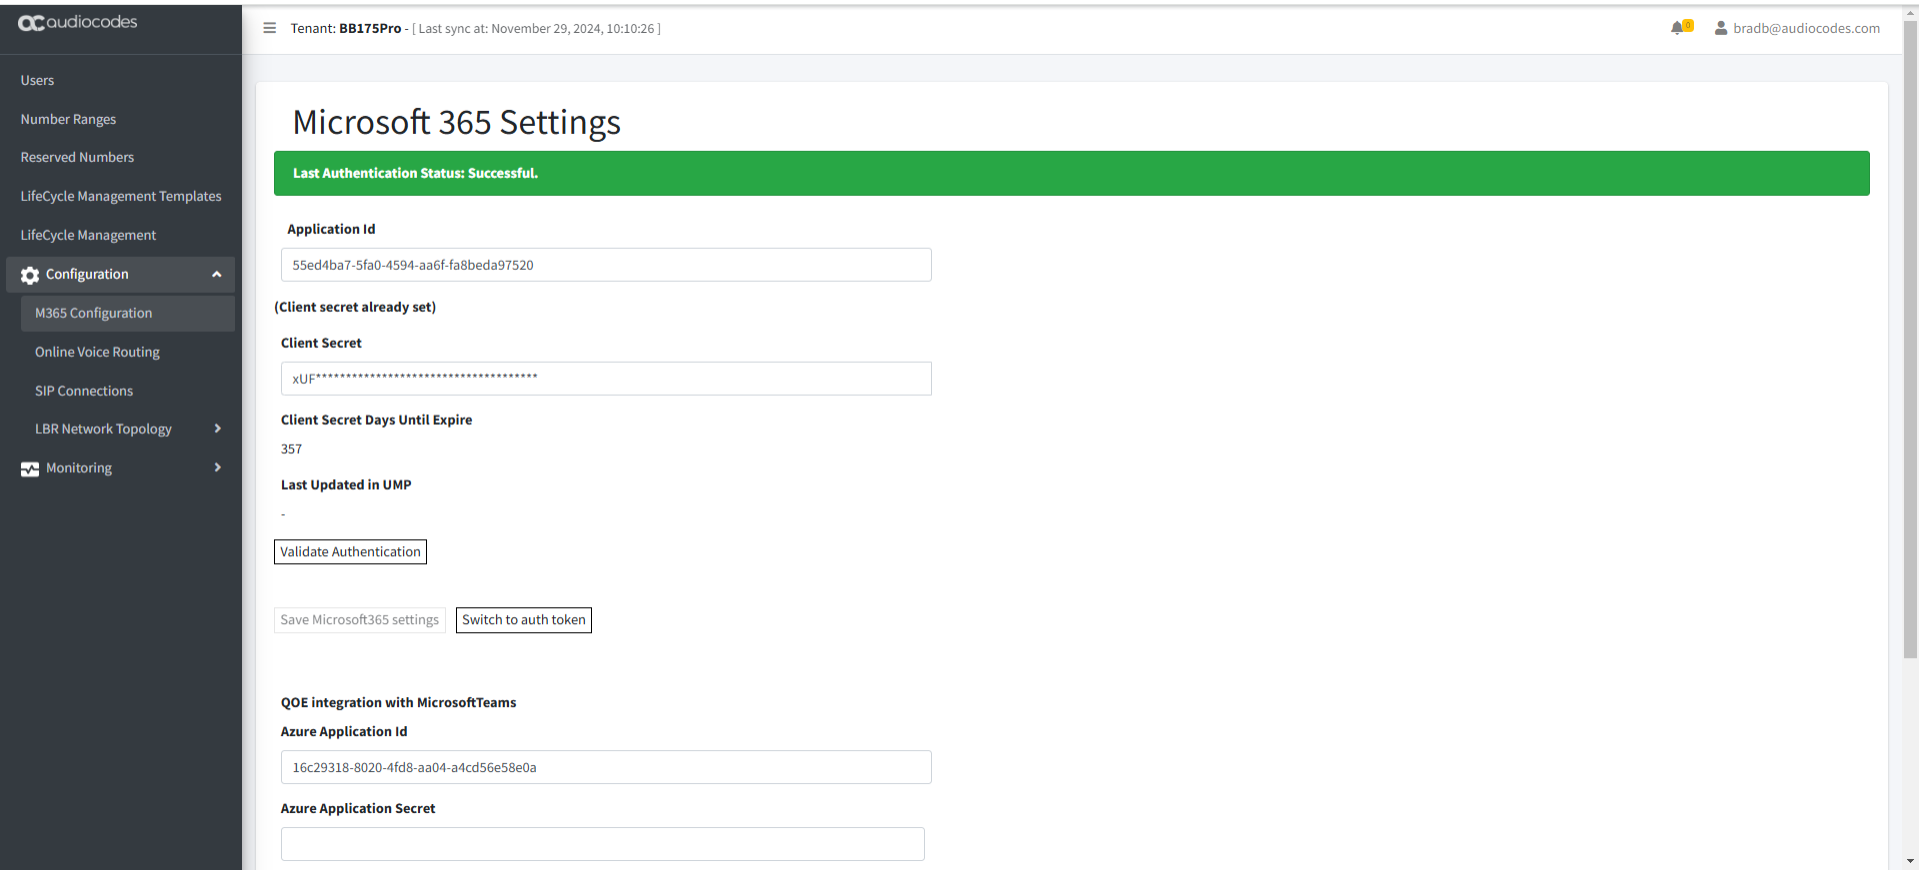
Navigate to the Microsoft 365 Settings page (Configuration > M365 Configuration). |
|
20.
|
Click Validate Authentication to validate the credentials of the tenant service with the App Registration. The Client Secret Days Until Expire value is displayed once the secret has been set for the first time. |
